Ningbo Force Auto Parts Co., Ltd.
- joe@forcerigging.com
- +86-18650363763
Ningbo Force Auto Parts Co., Ltd.
Content
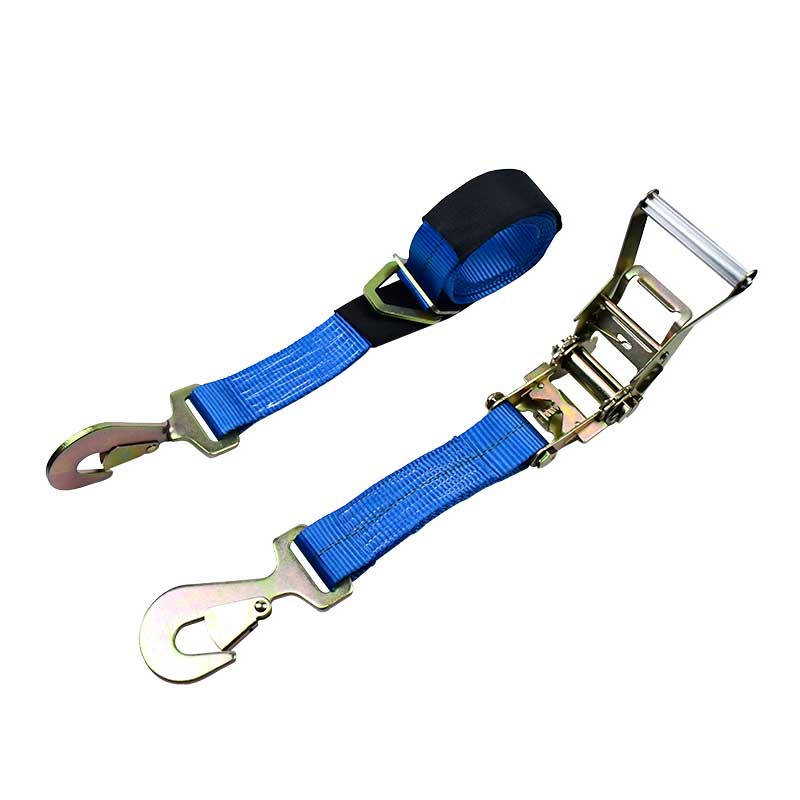
To thread a ratchet strap, open the ratchet handle all the way until it lies flat, then feed the loose end of the webbing through the slot in the mandrel, which is the spool that sits inside the ratchet frame. Pull the webbing through until most of the slack is removed, close the handle partway, and pump the handle up and down so the mandrel winds the remaining webbing around itself. Once the strap feels snug against the load, push the handle all the way down until the release latch clicks into place. This locks the tension and keeps the Tie Down Straps secure during transport.
This basic threading method applies to most webbing widths and buckle styles, though the exact attachment points and tension level will vary depending on whether you are securing a motorcycle, a boat on a trailer, or a pallet of heavy cargo. The sections below walk through each step in more depth, along with a labeled diagram, load rating guidance, and answers to common questions.
Threading a ratchet strap correctly the first time saves time on the road and helps the webbing sit flat against the mandrel instead of bunching up. The steps below apply to standard two-piece ratchet straps used for cargo, boats, and motorcycles alike, and reference the same components used throughout this guide.
A well threaded ratchet strap should have the webbing wound flat and layered across the mandrel rather than twisted or stacked to one side. Uneven winding can cause the strap to bind, slip, or wear out faster than expected.
Understanding a basic ratchet strap diagram makes the threading process easier because each part plays a specific role in how the webbing feeds through and locks in place. The illustration below labels the main components found on nearly every ratchet style tie down.
A simplified side view of a ratchet strap, showing the frame, mandrel, handle, release latch, and both webbing ends.
One of the most searched comparisons among first time buyers is working load vs breaking strength, and the distinction matters for choosing the right webbing width. The working load limit, often shortened to WLL, is the load a strap is intended to carry under normal conditions. Breaking strength refers to the point at which the webbing would fail under a straight pull test. As a general guideline commonly used across the webbing industry, working load limit is set at roughly one third of minimum breaking strength, which builds in a margin before the material reaches its limit.
| Webbing Width | Typical Working Load Limit | Typical Minimum Breaking Strength | Common Use |
|---|---|---|---|
| 1 inch | around 400 to 500 kg | around 1200 to 1500 kg | Small motorcycles, light equipment |
| 1.5 inch | around 600 to 800 kg | around 1800 to 2400 kg | ATVs, small boats, general cargo |
| 2 inch | around 900 to 1100 kg | around 2700 to 3300 kg | Cars, mid size boats, general cargo |
| 3 inch | around 1500 to 2000 kg | around 4500 to 6000 kg | Heavy duty cargo straps, flatbed loads |
| 4 inch | around 2500 to 5000 kg | around 7500 to 15000 kg | Industrial loads, machinery, container securing |
Approximate working load limit by common webbing widths, midpoint values used for illustration.
Choosing the right width matters most once loads get heavier. Heavy Duty Cargo Straps in the 3 to 4 inch range are generally reserved for pallets, machinery, and flatbed freight, while 1 to 2 inch webbing covers most everyday hauling, motorcycle transport, and small boat securing tasks.
While the core threading mechanism stays the same across products, the anchor points and tension approach shift depending on what is being secured. The table below outlines threading habits worth adopting for three of the most common applications.
| Application | Typical Anchor Points | Threading Tip |
|---|---|---|
| Heavy Duty Cargo Straps | Flatbed rub rails, D rings, pallet corners | Feed the webbing flat across the load and pump the handle in short strokes so wide webbing winds evenly on the mandrel. |
| Boat Tie Down Straps | Bow eye, transom eyelets, trailer frame | Thread the bow strap first, keep tension moderate to avoid stressing the hull, and route webbing away from sharp trailer edges. |
| Motorcycle Tie Down Straps | Handlebars with soft loops, frame, footpegs | Use a soft loop at the handlebar to protect the finish, thread at an angle toward the trailer floor, and keep both sides even. |
Typical number of tie down points used per cargo type, shown as general practice rather than a fixed rule.
Regardless of the application, Tie Down Straps should always cross or angle toward the direction of expected movement, front to back and side to side where possible, so the load stays centered even over rough road surfaces.
The ratchet mechanism relies on a gear and pawl system inside the frame. As the handle is pumped, a toothed gear attached to the mandrel turns in one direction only, while a spring loaded pawl catches each tooth and prevents the mandrel from spinning backward. This is what allows tension to build gradually and stay locked in place once the handle is closed.
New webbing tends to settle slightly during the first stretch of travel as fibers seat against each other and any factory slack works itself out. This is a widely recognized reason experienced drivers recheck tension after the first short distance of a trip.
Illustrative pattern of webbing tension settling over the first stretch of a trip before leveling off.
Because of this natural settling, it is good practice to pull over within the first short distance of driving and give the handle a few extra pumps if the strap feels looser than when it was first tightened. This simple habit helps keep Tie Down Straps performing as expected for the rest of the trip.
Not every job calls for a ratchet buckle. Cam buckle straps, ratchet buckle straps, and winch straps each bring a different balance of speed, strength, and control, summarized in the comparison below across five practical measures.
Comparison of cam buckle, ratchet buckle, and winch strap performance across five practical measures, on a relative scale.
Most tie down failures trace back to a handful of avoidable habits rather than a defect in the webbing itself. Watch for the following when threading and tensioning any strap.
Releasing a ratchet strap under tension takes a bit more care than threading one, since stored tension can cause the handle to snap open quickly if it is rushed.
This same process answers most questions people search for around how to loosen tie down straps or how to release a tie down, since nearly every ratchet buckle on the market uses a similar latch and handle arrangement.
A little routine care goes a long way toward keeping webbing strong and buckles moving smoothly between uses.
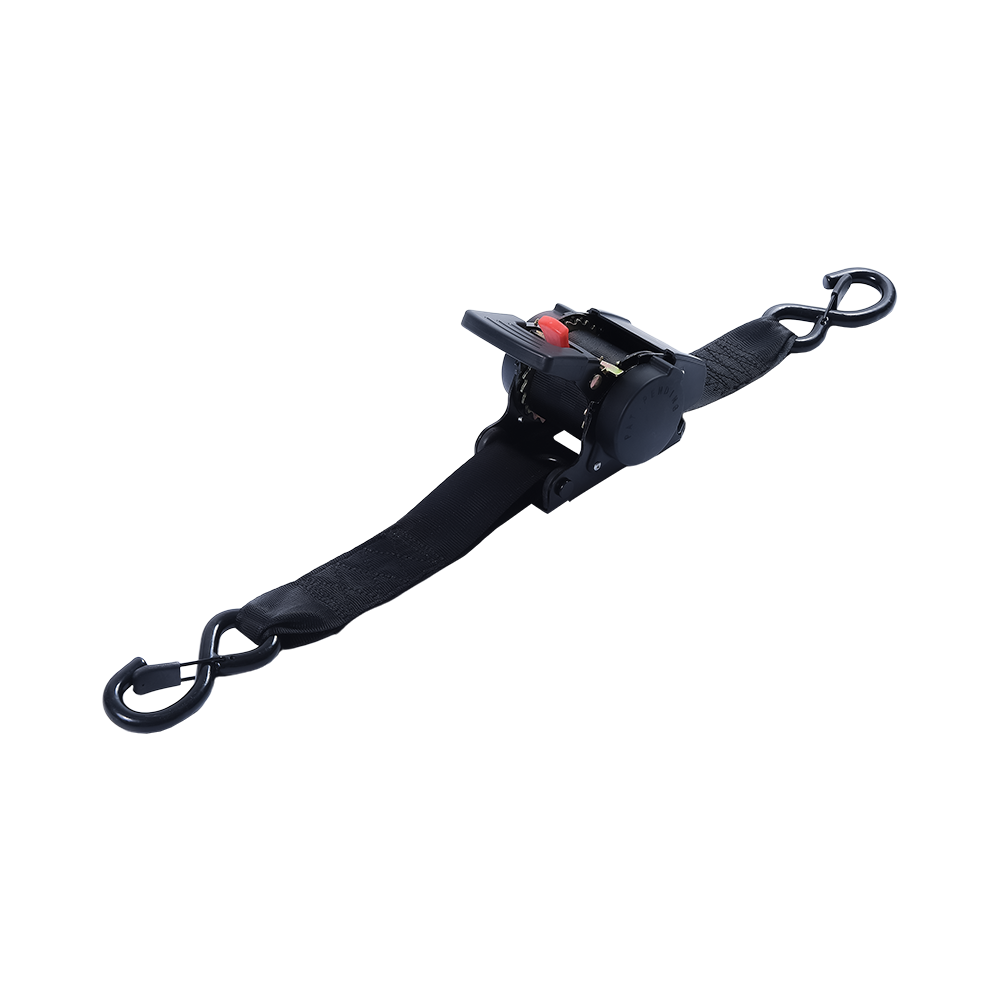
Ningbo Force Auto Parts Co., Ltd has produced webbing based tie down products since 2008, growing from a small one thousand square meter workshop into a thirty thousand square meter production base that now turns out around twelve million pieces each year. The lineup covers cam buckle, ratchet buckle, winch, automatic, and tow strap styles, built from polyester webbing paired with durable buckles and hooks, and offered in widths from one to four inches to suit everything from light hauling to heavy duty cargo work.
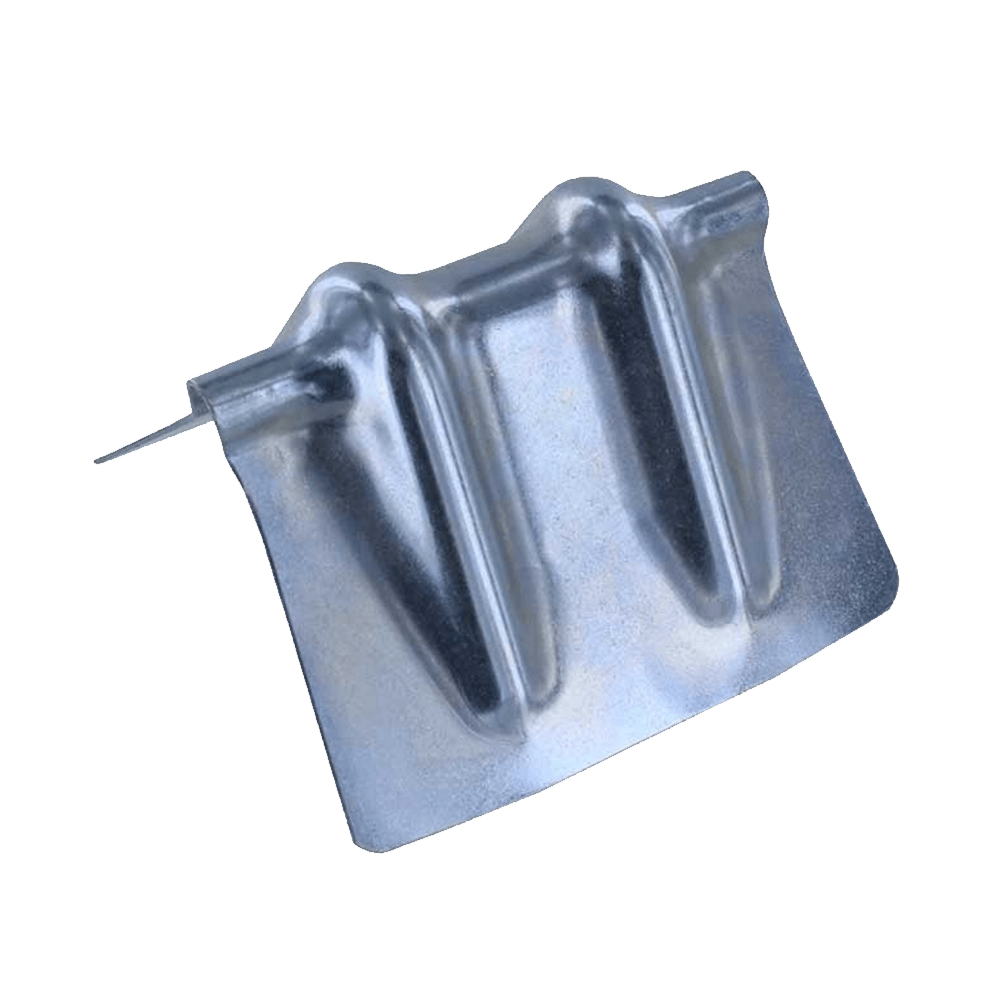
Beyond straps, the broader catalog includes hardware, lifting slings, tarps, and corner protectors, serving transportation, agriculture, construction, and energy related industries. As a manufacturer supplying Boat Tie Down Straps and Motorcycle Tie Down Straps for original design and original equipment partners, the team works with buyers to tailor webbing width, length, and hardware configuration to a wide range of project needs.
Q1: How do ratchet straps workA gear and pawl inside the frame let the mandrel turn one direction only as the handle is pumped, winding webbing on and locking tension in place until the release latch is opened.
Q2: How to use a ratchet strapAttach both hooks to rated anchor points, feed the loose webbing through the mandrel, pull out slack by hand, then pump the handle until the load feels secure and lock it flat.
Q3: How to feed a ratchet tie downOpen the handle fully, slide the webbing through the mandrel slot from underneath, and pull it through until only light slack remains before starting to ratchet.
Q4: Ratchet straps how to loosenPress or lift the release latch near the handle base while holding the handle steady, then open it slowly so stored tension releases in a controlled way.
Q5: How to loosen tie down strapsThe same latch and handle release used on ratchet buckles applies here, opening the handle gradually rather than letting it spring open on its own.
Q6: How to release a tie downStand off to the side, trigger the release latch, and ease the handle open so the mandrel unwinds gradually before pulling the webbing free.
Q7: How to work a ratchet strapThreading, tensioning, and releasing all revolve around the same mandrel and handle, so learning one ratchet buckle makes most other models easy to use.
Q8: How to use a turnbuckleA turnbuckle tightens by twisting its central body to draw two threaded end fittings closer together, offering fine tension adjustment for rigging rather than webbing based tie downs.
Q9: Towing a car with a tow strapAttach the tow strap to rated tow points on both vehicles, keep the strap straight without slack, and accelerate gently so tension builds smoothly rather than with a sudden jerk.
Q10: How to store ratchet straps between usesCoil the webbing loosely, keep the buckle dry, and store the strap away from direct sunlight and sharp objects that could nick the fibers.

The company specialises in the field of logistics transportation,cargo control,lifting and hoisting products.


joe@forcerigging.com
+86-18650363763
No.469, Liansheng Road, Yinzhou District, Ningbo, Zhejiang Province, China.315111
Copyright © 2025 by Ningbo Force Auto Parts Co., Ltd. All Rights Reserved. China Ratchet Straps Manufacturers OEM/ODM Load Binding and Rigging Company


 English
 Español
 عربى
عربى 中文简体
中文简体