Ningbo Force Auto Parts Co., Ltd.
- joe@forcerigging.com
- +86-18650363763
Ningbo Force Auto Parts Co., Ltd.
A tie-down only holds when the attachment is right. The webbing rarely fails first: the tail slips out of the mandrel, a hook sits on a weld bead, or a single wrap lets go when the load settles at highway speed. A 2-inch polyester ratchet strap stamped 10,000 lb break strength gives none of that margin back if it has been threaded backwards.
The working order is simple: hook the fixed end first, carry the webbing over the cargo without twists, thread the tail through the mandrel from underneath, keep at least two flat wraps, then tension and check. Ninety seconds per strap once you have done it twice, and the same routine covers a skid-steer on a flatbed, a motorcycle on a utility trailer and a pallet of brick behind a curtain-sider.
Content
Working from the fixed end toward the handle keeps the webbing slack where you need it and stops the load creeping while you thread.
The mandrel is a slotted shaft, and the slot only grips in one direction. Webbing has to enter from the underside of the slot and pass over the top of the shaft, so that closing the handle pulls the webbing under and presses it against itself. Threaded the other way round, the buckle still clicks — which is exactly why the mistake survives until the first emergency stop.
A single pass through the slot relies almost entirely on the friction of one webbing layer against metal. Two layers spread the pull across the mandrel and give the pawl something to bite into; on 50 mm (2 in) webbing and above, a third wrap costs nothing and adds real security. Keep the layers side by side and flat — a fold creates a high spot that will abrade the webbing from the inside.
Twisted or folded webbing loses a large share of its strength at that exact point, well before the rated figure on the label comes into play. Run a gloved hand along the strap as you pull it over the load; if you feel a ridge or a hard edge, stop and re-route before you put tension on it.
A ratchet strap can only pull against something solid. Both ends belong on a rated anchor — a welded D-ring, a stake pocket with a proper fitting, an E-track ring, or a frame member designed to take the pull. Sheet-metal panels and plastic trim are not anchors, no matter how convenient they look.
E-track changes what is possible here, because the anchor can slide to wherever the load actually sits instead of where the factory welded a ring. An E-track ratchet strap clips straight into the rail and gives you an adjustable anchor every few inches along the deck.
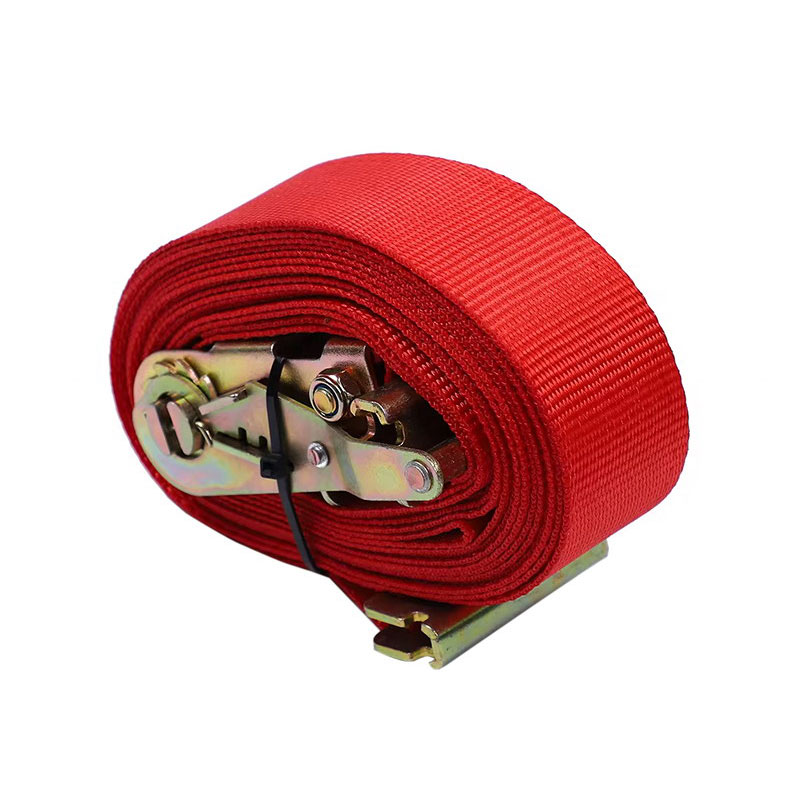 2-Inch x 12-Foot Red E-Track Ratchet StrapA 2-inch, 12-foot polyester ratchet strap that clips into E-track, giving an adjustable anchor along the deck for cargo securement.View Product →
Ratchet tension is not a strength contest. Pump until the webbing is firm with no visible slack and the load has stopped moving on the springs, then stop. Over-tensioning crushes cartons, distorts thin-wall panels and pre-loads the strap so heavily that the load settles underneath it and the strap goes slack a hundred kilometres later.
Two habits keep tension predictable. First, use the handle, never a cheater bar or a pipe extension — if the strap needs that much force, the strap is undersized for the job. Second, tension in pairs: one strap on each side of the load, alternating sides, so the cargo is pulled down evenly rather than dragged toward one rail. On anything with a suspension — cars, ATVs, machinery on rubber tyres — tension, bounce the load once, then re-tension.
Break strength is the laboratory pull that destroys new webbing. Working load limit is what you are allowed to tie down with, and it is derived from the break strength using the design factor of the market the strap was built for. US tie-down practice, as set out in WSTDA guidance, applies a 3:1 factor; EN 12195-2 uses a 2:1 factor and quotes a lashing capacity (LC) instead. The same 10,000 lb webbing therefore carries three quite different numbers on three different labels.
Read the label before you choose the strap, not after. A 5,000 kg LC strap sold in Europe and a 10,000 lb strap sold in North America may use identical webbing and still be described very differently.
Match the strap to the load with margin to spare: 25 mm webbing for motorcycles and light cargo, 35–38 mm for general flatbed work, 50 mm and above for steel, machinery and anything over about 2 tonnes. Where the webbing meets a sharp edge, the strap grade matters less than the protection you add.
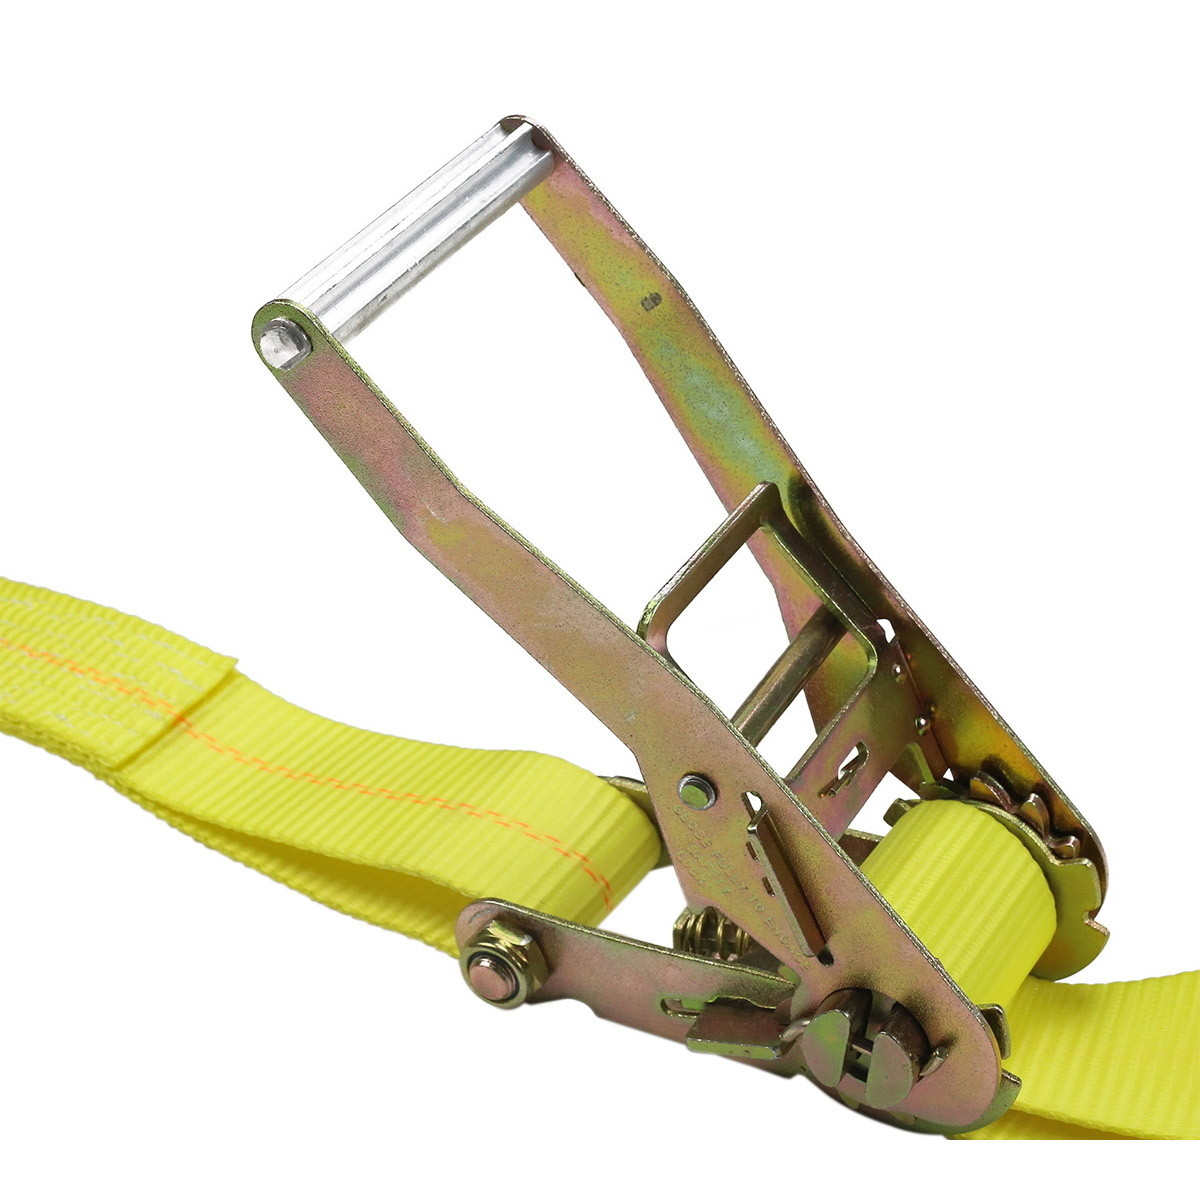 2-Inch 10,000 lb Heavy-Duty Ratchet StrapA 2-inch, 27-foot yellow polyester strap with a 3,333 lb working load limit, suited to heavy cargo and long-haul securement.View Product →
Most failures reported by drivers fall into a handful of recognisable patterns, and each has a quick correction that costs seconds rather than a load.
| Mistake | What you notice | Correction |
|---|---|---|
| Webbing threaded over the top of the mandrel | Buckle clicks normally but the strap slides under load | Re-thread from the underside of the slot and lay the tail flat |
| Single wrap on the mandrel | Strap pulls out at the first hard bump | Add a second wrap, a third on 50 mm webbing |
| Hook or webbing resting on a sharp edge | Frayed, glazed or cut webbing at one contact point | Move the anchor or fit a corner protector |
| Steep downward strap angle | Cargo creeps sideways, webbing chafes on the rail | Lower the anchor point or add a cross strap |
| Over-tensioned with a cheater bar | Crushed cargo or slack strap after a few miles | Hand pressure only, then re-check after the first stop |
Edge protection is the cheapest insurance in the whole system. A plastic V-board spreads the strap load over a wide contact area and keeps sharp corners away from the webbing on both the deck and the cargo side.
 HDPE V-Board Edge Protector for Flatbed StrapsA red HDPE corner protector with a strap groove for 2-, 3-, and 4-inch webbing, helping prevent sharp cargo edges from cutting straps.View Product →
Plan the first check for the first safe stop, roughly 10–15 miles or 25 km in. Loads settle, webbing stretches a little on its first tensioning, and a strap that felt firm on the ramp will often take another two clicks. After that, check at every stop where the load is accessible.
Releasing is the other half of the job, and it deserves the same care as tensioning:
If the handle is under obvious strain, take the load off the strap before you release — our three-step guide to releasing a ratchet strap safely covers the awkward cases. For flatbed and trailer work, the trucking and transportation range shows how straps, anchors and edge protection are normally combined.
Firm enough that the webbing has no visible slack and the load no longer moves when you push it. Two to four clicks past contact is usually plenty; crushing the cargo means you have gone too far.
For a 10,000 lb break strength strap sold in North America, the standard 3:1 factor puts the working load limit at about 3,333 lb. European EN 12195-2 straps of the same webbing are usually rated around 5,000 kg lashing capacity.
No. Tie-down straps are designed for restraint, not overhead lifting, and the hooks are not rated for vertical pull. Use a certified lifting sling with the correct working load limit instead.
Clip the end fitting into the rail slot at the anchor position you want, push it down until it seats, then pull the ring to confirm the lock. Tension as normal — the rail should be bolted to the deck structure, not to trim.
Almost always threading or wraps. If the tail enters from the wrong side of the mandrel, or there is only one wrap, the pawl has nothing to grip against. Re-thread from underneath with two flat wraps before blaming the buckle.
After the first 10–15 miles, then at every stop where you can reach the load. Retire any strap with cuts, glazing, chemical damage, a bent handle or a pawl that no longer clicks positively.

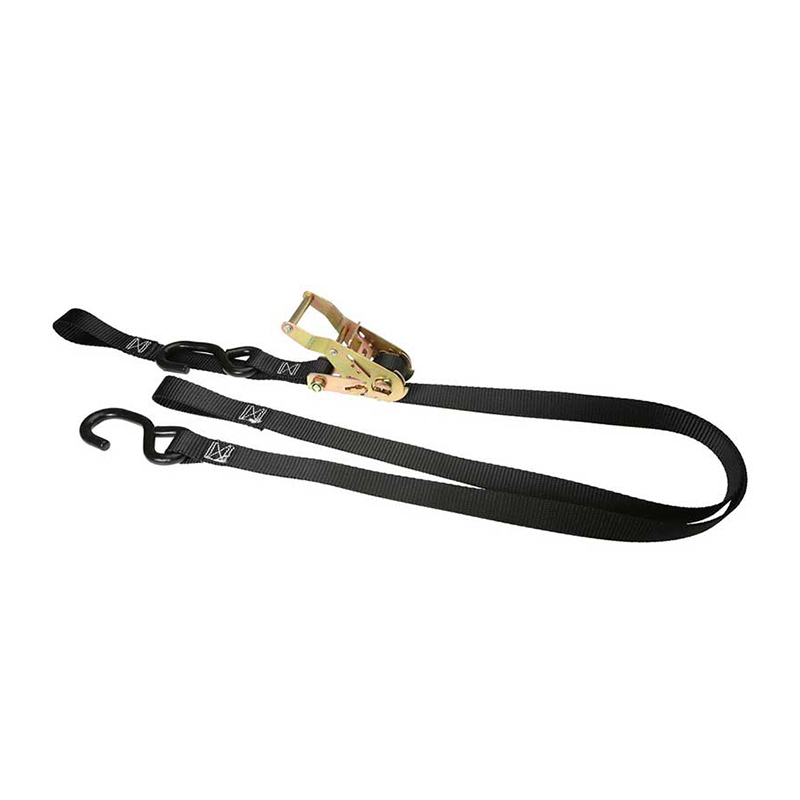
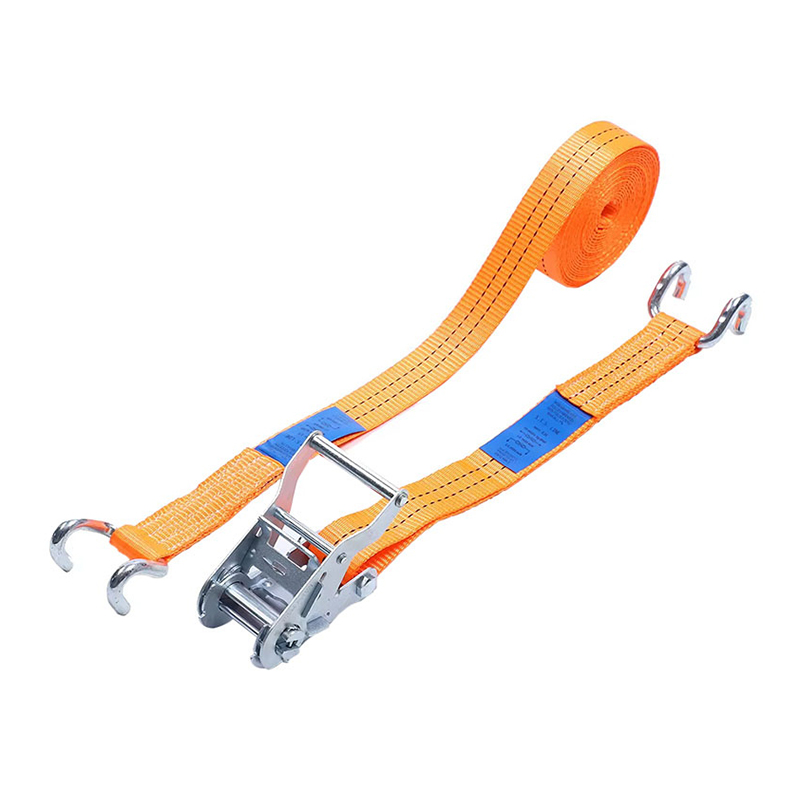
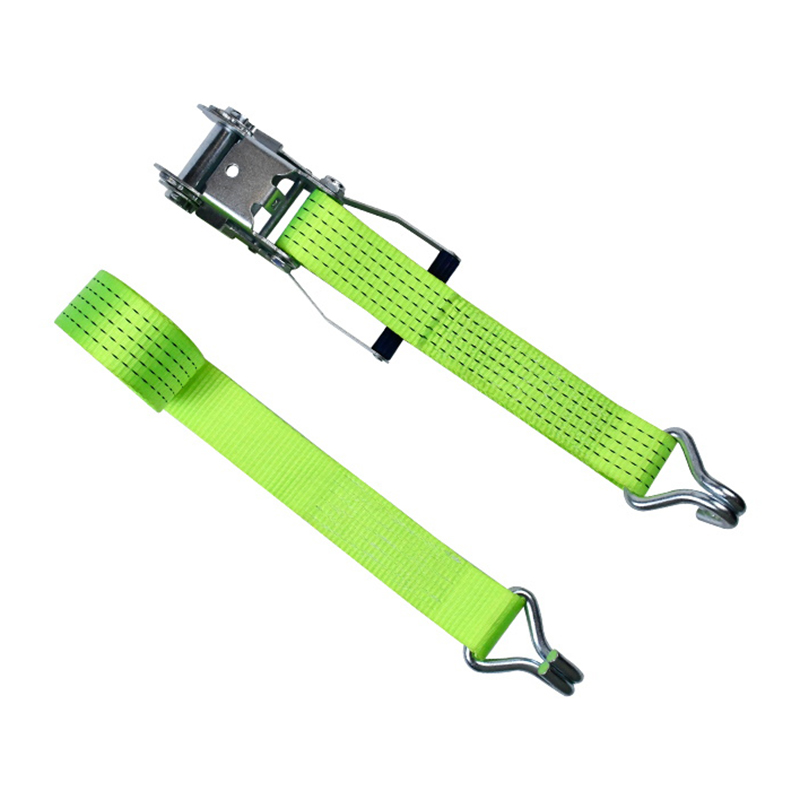

The company specialises in the field of logistics transportation,cargo control,lifting and hoisting products.


joe@forcerigging.com
+86-18650363763
No.469, Liansheng Road, Yinzhou District, Ningbo, Zhejiang Province, China.315111
Copyright © 2025 by Ningbo Force Auto Parts Co., Ltd. All Rights Reserved. China Ratchet Straps Manufacturers OEM/ODM Load Binding and Rigging Company


 English
 Español
 عربى
 中文简体