Ningbo Force Auto Parts Co., Ltd.
- joe@forcerigging.com
- +86-18650363763
Ningbo Force Auto Parts Co., Ltd.
First trip, first hard stop: the motorcycle lurches forward, the factory D-ring you bolted into the plywood floor pulls up like a button off a winter coat, and you spend the next hour searching for a strap angle that will not tear out again. That is the moment most trailer owners start researching how to install e-track in a trailer.
Here is the short answer: e-track becomes the strongest and most flexible anchor system in a utility or enclosed trailer when the rail is fastened into the structure. That means through-bolts with backing plates on floors, fasteners into real framing on walls, and a bolt or screw in every slot. Get those three things right, and the rail will last as long as the trailer does.
Below we cover layout decisions, mounting hardware, a step-by-step installation sequence, load ratings and tie-down math, accessories worth adding, and the mistakes that show up repeatedly in owner discussions.
Content
Plan before you drill. Floor-mounted e-track is the default for wheeled loads such as ATVs, UTVs, motorcycles, and mowers, because the strap pulls directly against the tire and suspension. A common dealer recommendation for an ATV trailer is to run the rails centered on the tire treads and pair them with rubber block tie-downs that cup the wheels. The blocks absorb fore-and-aft movement while the strap holds the machine down.
For enclosed trailers, many owners compromise with wall rails mounted about one inch off the floor. The floor stays clear for loading and cleaning, and the strap angle still pulls down and toward the front of the trailer. Mid-wall rails work best for ladders, lumber, canoes, and moving boxes because the strap can compress the load against the wall. Ceiling rails are occasionally added for light bulky items, but they should not serve as primary anchors for anything heavy.
For trucking and transportation operations that reload several times a day, the repositionable slotted rail is what saves the most time compared with fixed D-rings.
| Placement | Best for | Mounting basis | Watch out |
|---|---|---|---|
| Floor, centered on the tire tread | ATVs, UTVs, motorcycles, mowers | Through-bolts with a steel backing plate | Braking loads twist the straps; use rubber blocks with wheels |
| Low wall rail, about 1 in. off the floor | Motorcycles, bicycles, general cargo | 1-in. screws into studs, or bolts with backing plates | Keep the strap angle at 45 degrees or less |
| Mid-wall or shoulder-height rail | Lumber, ladders, canoes, boxes | Bolts or screws into wall framing | Heavy loads can pull the rail off in peel mode |
| Ceiling rail | Light bulky items only | Bolts into roof bows | Not a primary anchor for vehicles |
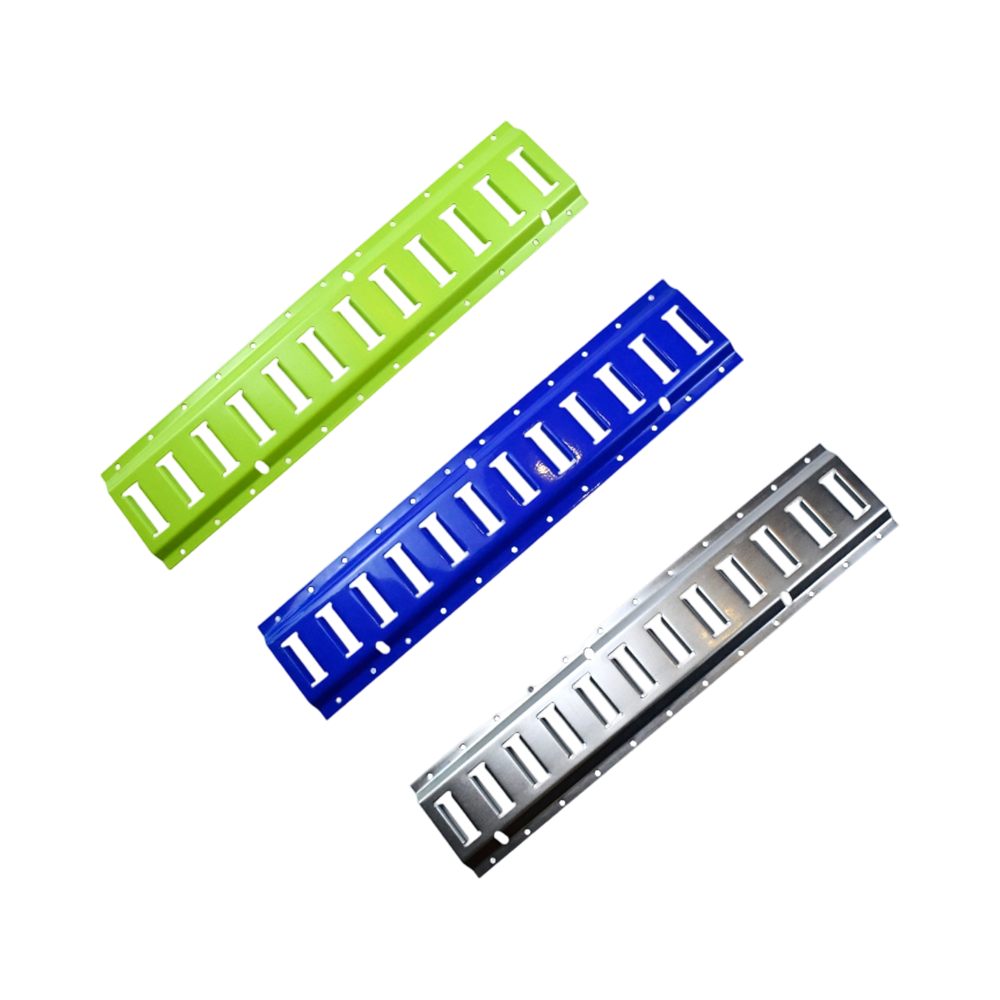 Powder-Coated Steel Bolt-On E-Track Rail for Truck and Trailer BedsThis heavy-duty horizontal E-Track rail offers multiple high-strength anchor points and a bolt-on installation for secure cargo tie-downs. Its 666-lb working load limit suits demanding transport use, and proper through-bolting with backing plates is essential for reliable performance.View Product →
Most failed e-track installations fail at the fastener, not the rail. Any floor anchor that will hold a vehicle must be through-bolted. A wood screw into 3/4-inch plywood has limited pull-out strength and gives almost no warning before it lets go. With a 3/8-inch or 5/16-inch bolt, a large fender washer, and a steel backing plate on the underside, the plywood becomes part of the load path. Owners who push the limits report that the wood crushes around the bolt long before the bolt pulls through, which is exactly the behavior you want.
On wood-framed sidewalls, experienced owners get dependable results with 1-inch screws with a 3/8-inch hex head installed in every slot of the rail. The length reaches into the framing, and the hex head clamps the track instead of spinning in place. If the back of the wall is reachable, a bolt with a backing plate is always stronger, and it is the right choice for rails that will hold motorcycles.
Aluminum-frame trailers change the calculation. Pop rivets are convenient, but they are not a structural answer for e-track. Use threaded rivet nuts or bolts through the frame rails so the clamp load keeps the track from working loose. Match the fastener to the metal; do not assume a self-tapping screw into thin-wall aluminum will hold a heavy pull.
Every e-track component carries its own rating, and the system is only as strong as the weakest link. A rail bolted at every slot into proper backing is rated for that installation. Skip every other bolt, and you are not buying a 1,500 lb anchor point; you are buying sheet metal with holes.
Typical numbers help with planning. Standard 2-inch e-track fittings such as J-hooks, D-rings, and O-rings are commonly rated around 1,500 lb working load limit (WLL), and 2-inch e-track ratchet straps often fall in the 1,500 to 2,000 lb WLL range. Read the stamp on the fitting and the tag on the strap; when the numbers disagree, the lowest number wins.
Figure 1. A standard e-track rail has a slot every 2 inches, so one 8-ft rail offers 48 anchor positions versus four to six fixed rings.
The practical difference: on an ordinary 8-foot section, e-track gives you 48 possible anchor positions, while fixed D-rings give you four or six. You place the strap exactly where the load needs it and move it in seconds when the load changes.
For heavy hauling, the U.S. Federal Motor Carrier Safety Administration (FMCSA) cargo securement rules are a useful reference even on non-commercial trailers. The combined WLL of all tie-downs should be at least half the total cargo weight, and the minimum number of tie-downs grows with cargo length.
Figure 2. FMCSA guidance for light to medium cargo: one tie-down up to 5 ft, then one more for each additional 5 ft of length.
| Component | Typical WLL | Notes |
|---|---|---|
| E-track rail (fastened in every slot) | About 1,500 lb | A skipped fastener reduces the rating |
| J-hook or D-ring fitting | About 1,500 lb | Rating is stamped on the fitting |
| O-ring fitting | About 1,500 lb | Lays flat against cargo and straps |
| 2-in. e-track ratchet strap | 1,500-2,000 lb (check the tag) | Breaking strength is roughly double the WLL |
Spacing also matters. For an ATV or motorcycle, rails centered 16 to 24 inches apart let you put one strap in front of each tire and one behind, giving four independent anchor points per machine.
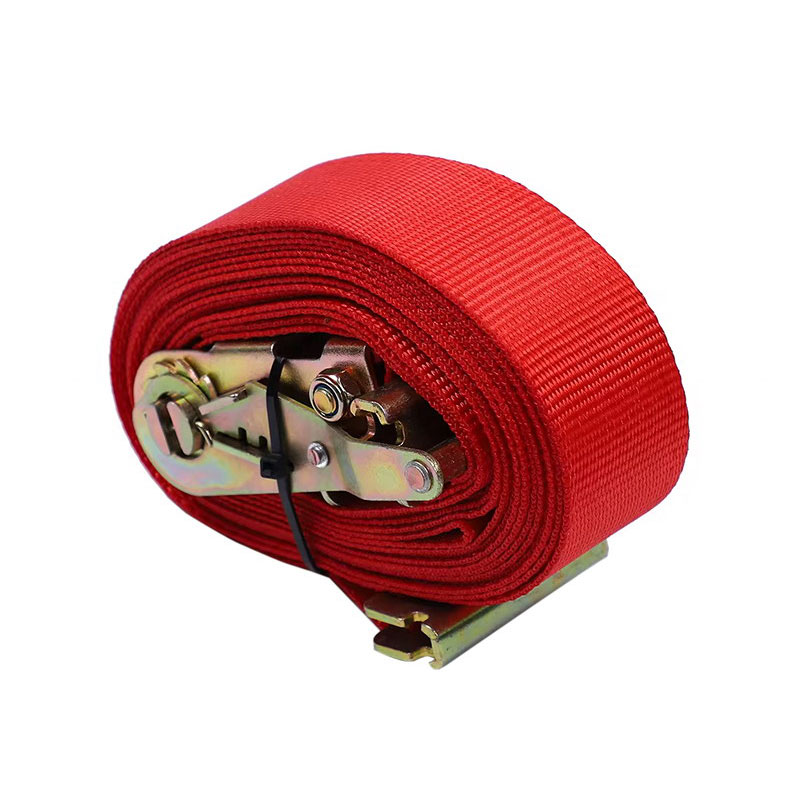 Red E-Track Ratchet Strap, 2-Inch by 12-Foot LengthThis 2-inch polyester ratchet strap works with E-Track systems to secure cargo quickly. Its ratchet mechanism allows easy tensioning, and the red coloring aids visibility. Pair it with proper wheel chocks for stable four-point tie-downs of ATVs or motorcycles.View Product →
Rail alone does nothing until you add fittings. The versatility comes from the ecosystem: J-hooks and D-rings for general straps, O-rings that sit flat against loads, tool holders for shovels and jacks, spare tire mounts, and wheel chock kits that let a driver roll a motorcycle or ATV into place and pin it without measuring. Wheel chocks are especially useful on floor rails because they take most of the fore-and-aft load, so the straps mainly hold the vehicle down.
Figure 3. Isometric cutaway of a typical wall-mounted e-track: rail, J-hook fitting, strap, cargo, and the mounting detail with backing plate and bolt.
If you want a broader view of how the rails, fittings, and straps work as a system in daily logistics, this e-track system overview is a useful read.
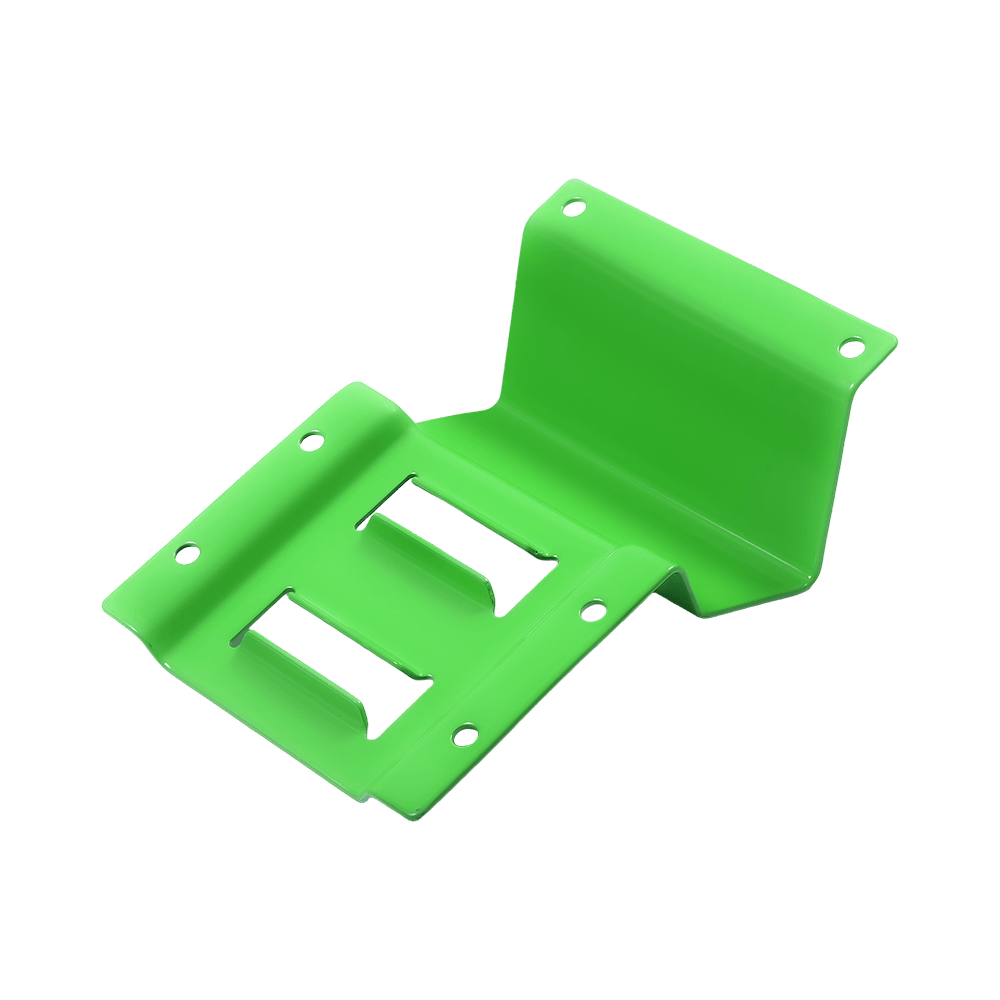 Heavy-Duty E-Track Wheel Chock Kit for Trailer and Container UseThis wheel chock kit immobilizes vehicle wheels during transport, working with standard E-Track rails. It helps control fore-and-aft movement, reducing strap load. With a 666-lb working limit and quick repositioning, it suits repeated loading in trailers and containers.View Product →
E-track is a steel rail with slotted holes that accept compatible fittings and straps anywhere along its length. Trailer owners add it to create strong, repositionable tie-down points for ATVs, motorcycles, mowers, and general cargo.
The working load limit depends on the rail, fitting, and fastener together. A typical 2-inch J-hook fitting is rated around 1,500 lb WLL; verify the stamp and the strap tag, and treat the lowest rating in the chain as the real limit.
Yes, but not with pop rivets. Use rivet nuts or bolts through the frame rails so the clamp load keeps the track from shifting under load.
On wood floors use 5/16-inch or 3/8-inch through-bolts with fender washers and a steel backing plate. On wood-framed walls, 1-inch screws with a 3/8-inch hex head in every slot are a proven approach.
Space the rails 16 to 24 inches apart so straps line up with each tire. Two rails, with one strap in front of each tire and one behind, give four solid anchor points per machine.
Only if the end fitting matches the slot. Use purpose-built e-track straps with flat hooks or J-hooks that lock into the slot; an ordinary S-hook can slip out during a hard stop.
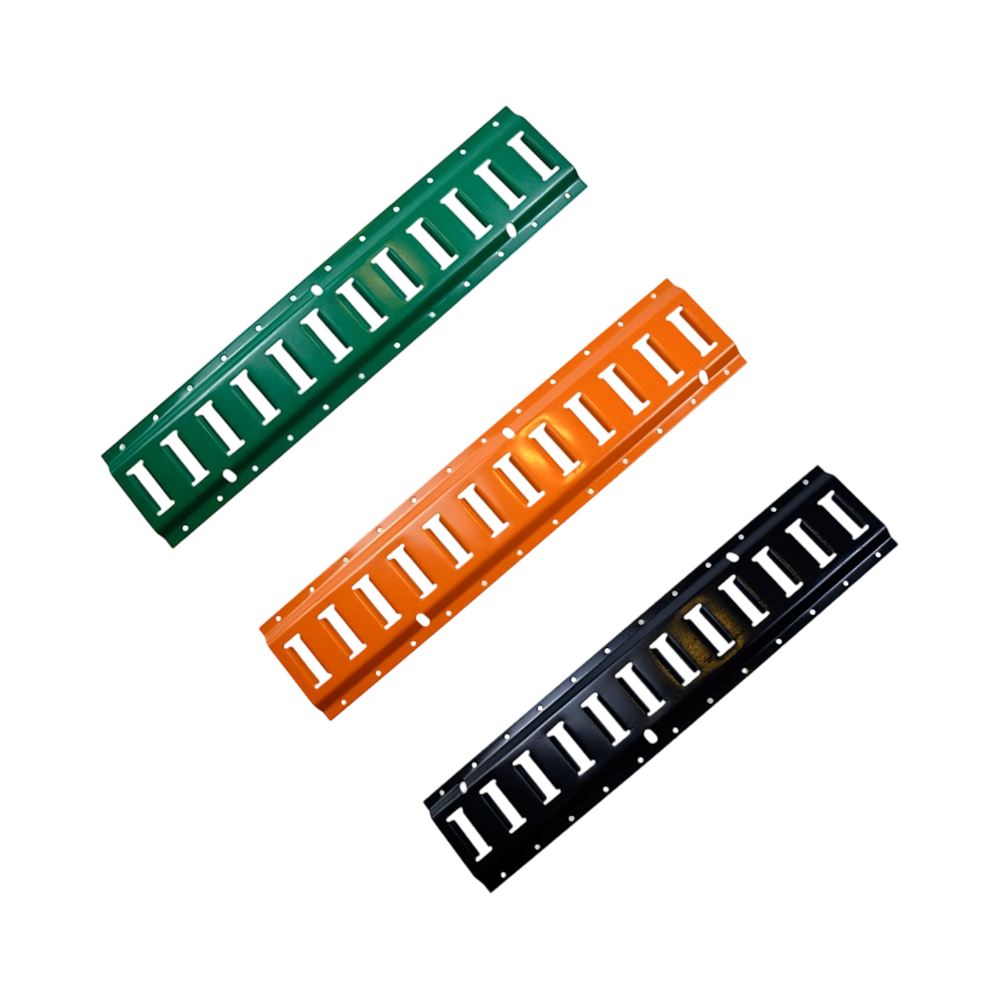
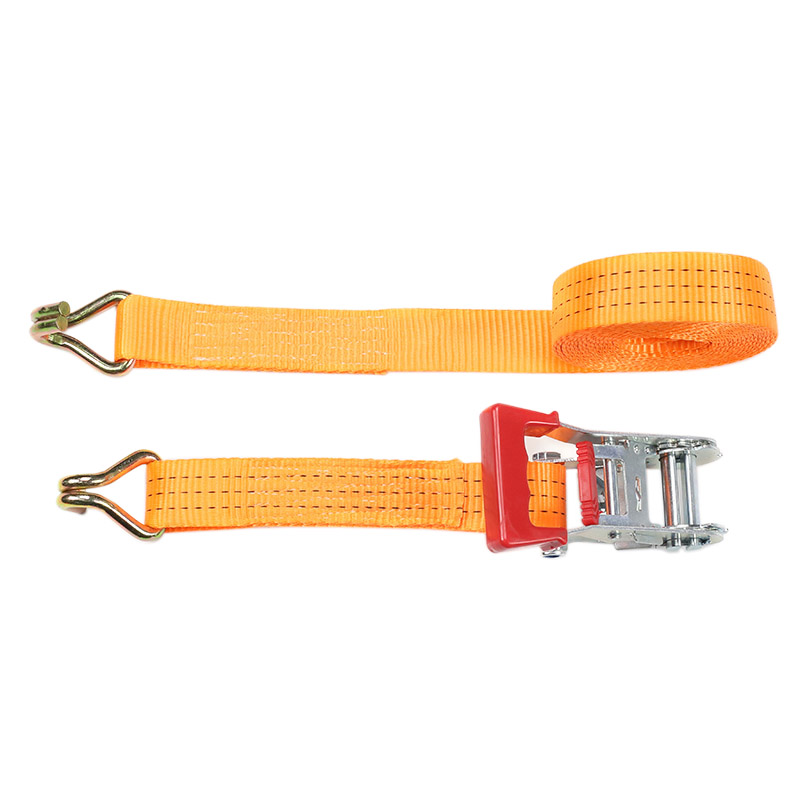

The company specialises in the field of logistics transportation,cargo control,lifting and hoisting products.


joe@forcerigging.com
+86-18650363763
No.469, Liansheng Road, Yinzhou District, Ningbo, Zhejiang Province, China.315111
Copyright © 2025 by Ningbo Force Auto Parts Co., Ltd. All Rights Reserved. China Ratchet Straps Manufacturers OEM/ODM Load Binding and Rigging Company


 English
 Español
 عربى
عربى 中文简体
中文简体